I am so thrilled to share all kinds of fun and beautiful recycling projects with you in the coming months and this one just had to be the first. I discovered t-shirt yarn about 3 years ago and instantly fell in love.
If there is one thing that no thrift store is lacking it’s a metric ton of t-shirts, most sporting slogans, events, and inside jokes that mean absolutely nothing to a stranger. This makes them very hard to sell and usually extremely cheap. I typically pay 50 cents for them at my local Teen Challenge thrift shop.
But aside from being cheap, I think it’s also important to find a way to use tshirts, a commodity that is so often seen as disposable, in lasting and meaningful ways. Redemption is possible for all people, and we learn to live with that in mind by seeking short term redemption for things too. (For more on this check out my post on the reasons I teach recycled DIY.)
So, as a foundation for so many beautiful projects to come, (floral garlands! cacti ottomans! tassel curtain ties! be excited!)….
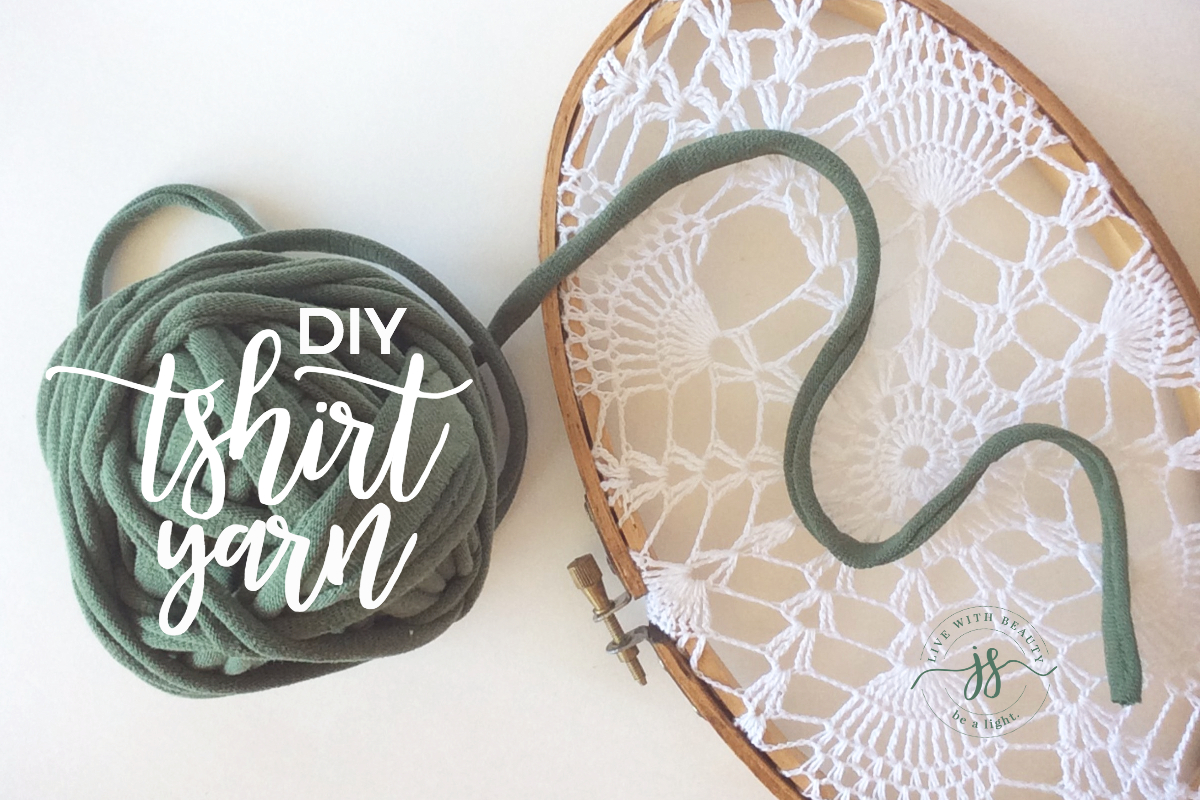
We are going to turn this ……………………………….in to this …………………………..


Shall we get to it?
Here’s what you need:
- old tshirt (I look for limited printing on the front and back, but I loved the color of this shirt so I made it work. I also like to get the biggest ones I can find to maximize the yarn I can squeeze out of it!)
- fabric scissors or rotary cutter + cutting mat (If you want to make a bunch of tshirt yarn, go with the rotary cutter. It’s about 3-4x faster and easier to get a clean long line. If you are just wanting to do a few small projects, fabric scissors will do just fine.)
- desire to grow in the virtue of patience (It’s not too bad, but if you’re using scissors it can get a little tedious. Use it as a chance to pray for someone who’s struggling and everyone will feel a little better.)
- Start by lining up the bottom hem of your t-shirt. Once you have it all straight, chop it off. You won’t be using the hem for your yarn.


2. Next you’ll chop off the top part of the shirt. (In this tutorial I will show you how to make continuous yarn out of the body of the shirt, but hang on to that top part! I promise I’ll show you some great ways to use it down the line.)
Cut from armpit to armpit to get a seamless loop of fabric.


3. Now you get to start cutting your yarn. Fold one folded edge of fabric about an inch shy of the other folded edge as shown below. Now you can begin cutting strips that will become the yarn.
Cut from the double folded edge through the top of the fabric folded over as shown below. Cut all the way through all four thickness of fabric, stopping just after the top piece ends.
Whatever you do, do NOT cut all the way to the other side or you will be left with one long and skinny loop disconnected from the rest of the fabric.


4. Keep doing this until you cut strips all the way down the fabric. Then unfold. It will look like the second picture below.


5. Now you are going to make the cuts that make the yarn continuous. Start by slipping something large and flat inside what used to be the body of the shirt so we can see what we’re doing. This is where I really like using a cutting mat, but if you are using scissors you can slip a big piece of cardboard inside the loop instead if you want. It should look like the first picture below.
Now this is where some people get confused, so I want to give you a mental image for what you’re doing before you start so you can frame this right in your mind. You remember making coil pots with clay in school? We are doing something very similar here, making all these loops into one long “coil” by cutting from one loop up to another one to join them together.
Your first cut will create the end of the yarn. Snip off one loop diagonally to get it started. Then, starting with the loop next to the yarn end, cut diagonally across the uncut space to join the loop above the yarn end and the loop to the left of it. See the picture on the right below for illustration.


6. Keep going until all the loops are joining in one continuous loop!


7. Now you can take everything off the board or mat and you should have a pile of fabric that looks like this:

8. Now you are going to pull it into yarn. This is the fun part, I think.
Start with an end and begin to gently but firmly stretch the fabric strip so that it curls in on itself and looks like yarn. You can put some strength into this so it goes quicker. I typically get about two feet of fabric between my hands and then move my arms like I am using the fly weight machine to stretch it out. Keep going until you’ve pulled all the fabric!

And that’s it! T-shirt yarn! You can use this to replace regular yarn in your knitting and crochet, or for other great projects like the ones I have in store for you!
Check back for a running list of projects made using this yarn!
Want to stay up to date on all the DIY here at JillSimons.com? Join our DIY email list for updates twice a month about new projects that have been released!
[convertkit form=5092501]

